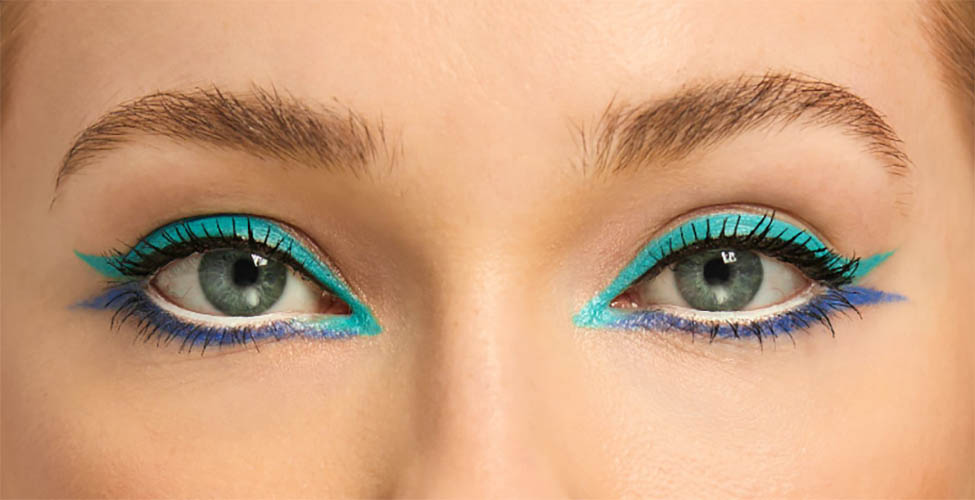
The nose is one of the defining features of the human face. Simply changing how a person’s nose looks can often render them unrecognizable, so this technique is often used by Hollywood make-up artists when they want to alter someone’s appearance.
As you might imagine, this also means that getting the nose right in your drawings is crucial. However, this is not a simple task, as there are many ways to mess things up, especially if you’re a beginner.
Below, we have a step-by-step guide on how to draw a nose for beginners. This is just one of the approaches you could take, and if you don’t find that it fits your style, we encourage you to check out a few alternatives.
A tutorial that many people find helpful is this nose drawing guide by BioWars. Check out the video below, putting the guide’s main principles into practice.

For now, let’s move on to our step-by-step lesson.
How to Draw a Nose?
Although you may not notice it, your nose consists of multiple shapes that come together to form one. Simple geometric forms are the best way to get a good rendering. It is easy to construct a nose with this basic framework. Add shadows with the pencil once that’s done to give the image depth and dimension.
But let’s not get ahead of ourselves.
Step #1 — Rely on the Symmetry
Each side of our nose has the same features. You can use that symmetry to your advantage by starting with a vertical line and putting a circle at the bottom end. Next, you would draw a smaller circle on each side, slightly overlapping with the central one.
Above that, on each side of the vertical line, you can draw parabolic ones for a rough trapezoid shape, representing the bridge.
Step #2 — Connect the Lines
In the area where the nose connects to the cheeks, the bridge splays outward. Add lines to the sides to keep your nose from looking like a beak. These lines will also be helpful later on when you begin to add hatching.
Imagine the end of the nose as a sphere so you can visualize how the light falls on it. As the light comes from above, the top receives more light than the bottom. When shading the nose, separate the top and bottom with contoured lines to know where to make it darker.
Step #3 — Complete the Foundation
After connecting all the lines and strengthening them, add the nostrils using the bridge as a guide. At this point, you can get a sense of how the nose looks. You must take your time with this step until you are confident it looks perfect.
Step #4 — Add Shading
Adding shadows to a drawing gives it depth. It’s best to begin this process where there is the least amount of light — under the tip, along the sides, and around the nostrils. Notice how the hatching in these areas makes the nose appear to be sticking out of the page.
Make sure all the initial construction lines are erased before you proceed with shadowing.
Step #5 — Use the Value Scale for Lighting
The value scale is used in realistic drawings to insert light, medium, and dark values to simulate shadows, which gives the drawing depth. To achieve this, you gradually decrease the darkness of the shade.
When the darkest areas are in place, you can work with halftones around the nostrils, the tip, and the ridgeline.
It is helpful to use drawing pencils with different lead hardness levels to achieve these tones more easily. Hard pencils are marked with Hs, whereas softer pencils are marked with Bs, with Hs working exceptionally well for light marks and Bs more suited to darker ones.
Remove the graphite from the ridge, the ball of the nose, and the wings with an eraser until white paper appears.
Wrapping Up
There you have it! Drawing a nose that looks real is probably easier than you thought. The best approach is to start with shapes, add location lines, connect the lines, add darkest areas, and end with mid-tones and lights.
Filling your sketchbook with noses can be a lot of fun. You can find plenty of noses on the internet to practice with, such as button noses, crooked ones, big ones, small ones, etc. Drawing more and more of these images will make drawing an actual live human easier when the time comes.
We guarantee that you’ll improve as you practice!


